
Tackl Academy · Knots
How to Tie a Knotless Knot: A Step-by-Step Carp Fishing Guide
The knotless knot is one of the most useful connections an angler can learn. It secures an eyed hook to a hooklink by binding the material around the shank, and it can leave a separate length of line - the hair - to carry the bait. That simple arrangement underpins many conventional carp rigs. Learn it carefully and you will understand not only how to tie a hair rig, but why eye direction, whipping and bait position matter.
By Tackl · Reviewed by TACKL. · Updated 10 October 2026
The knotless knot is one of the most useful connections an angler can learn. It secures an eyed hook to a hooklink by binding the material around the shank, and it can leave a separate length of line - the hair - to carry the bait. That simple arrangement underpins many conventional carp rigs. Learn it carefully and you will understand not only how to tie a hair rig, but why eye direction, whipping and bait position matter.
Despite the name, it is not a knot in the conventional sense of a single interlocking loop. The connection uses tight turns around the hook shank, held in position by tension through the eye. The correct tying method depends on the hook and hooklink you choose, so this tutorial describes the common bottom-bait version with an eyed carp hook and an appropriate hooklink.
What the knotless knot is used for
The method is common in simple hair rigs, some bottom-bait and wafter presentations, and other situations where a neat hook connection is needed. The hookbait is typically carried on the hair rather than placed directly on the hook. That leaves the point more exposed and allows the bait to move separately from the metal hook.
The design is adjustable: you can change hair length before whipping, choose a different hook pattern or vary the hooklink material to suit the bottom. These changes are not universally improvements; they need testing as a complete rig. If your venue prohibits certain materials or hook types, adapt the setup before fishing.
Components and tools
- One clean, sharp eyed hook appropriate to the venue.
- Hooklink material compatible with the hook's eye and wire shape.
- Sufficient extra length for the finished rig and end connection.
- Scissors or line cutters.
- Hookbait, baiting needle and bait stop if making a standard hair.
- A clear container of water for presentation testing.
- Optional small line puller or suitable knot-tightening tool; never wrap tight line around bare fingers.
For practice, a thicker, contrasting-colour hooklink makes the path of the turns easier to see. Once confident, tie the actual fishing version with the specific material and hook you intend to use.
How to tie the knotless knot: nine steps
- Cut the hooklink
Allow enough line for the hook section, chosen final rig length and attachment at the far end. Cutting a very short piece often encourages rushed knots and poorly positioned bait.
- Prepare the hair
For a standard boilie hair rig, make a small secure loop at one end for the bait stop. Check the loop by gently pulling it. If your presentation uses a different bait attachment, follow that system's instructions instead.
- Put a test bait on the hair
Use the actual size of boilie or wafter you plan to fish. This lets you position the bait rather than estimating a distance from an empty hair.
- Thread the hook eye
Pass the long working section through the eye and lay the hair along the shank. Arrange the hook so the working line can finish exiting the eye on the point-facing side in this conventional version.
- Set the bait-to-hook gap
Hold the bait where it moves freely without obscuring the point. There is no single perfect gap: bait size, hook size and any tubing or ring used can alter how the rig behaves.
- Wind neat turns down the shank
Keep the hair against the shank as you wind the working section away from the eye. Begin with roughly six to eight close, uncrossed wraps as a practice range, then follow the material and hook maker's advice for the exact setup. Do not trap the line against a rough edge.
- Secure the working end through the eye
Feed the working section back through the hook eye so that, in the finished common hair-rig arrangement, the hooklink leaves towards the point-facing side. Do not let the turns bunch up while you do this.
- Bed the connection down
Moisten where appropriate for the material and draw the line tight smoothly, keeping the turns aligned. Check that the whipping grips the hair and shank and that the material hasn't flattened, cracked or been abraded.
- Test and inspect
Remove and reattach the bait as needed, apply firm controlled tension with suitable tools, examine the wraps and lower the rig into water. If the hair slips, the hooklink exits the wrong way or the wraps look uneven, retie it.
Why the hooklink exit matters
The angle at which line leaves the eye changes how tension acts on the hook. With many standard eyed carp-hook designs, having the line leave on the point-facing side encourages the hook to respond as intended. But hook geometry varies; certain specialist patterns and stiff filaments may require different tying methods or connections. Do not force an incompatible material through a small or sharply angled eye.
Never confuse a knotless knot with a guarantee of hooking success. A carp can pick up a bait and eject it without the hook taking hold. The bait, line, weight of the hook, lakebed and fish's behaviour all influence the result.
Choosing the hair length
The hair must let the bait behave independently while keeping it close enough to the hook for the presentation to function. With an ordinary boilie, try a few sensible lengths in a clear tub, then assess whether the bait sits against the bend, pulls on the hook or drifts too far away. Wafters and double baits may need different placement from a single sinking boilie.
A silicone sleeve, small ring or other hair-positioning component may affect movement. Only use them if they are part of an arrangement you understand and have tested. A simple hair attached by whipping is a good starting point.
Material choices
Supple braid allows a mobile hooklink and can suit presentations where the bait should settle naturally. Coated braid may offer an anti-tangle section and a supple stripped portion near the hook. Monofilament and fluorocarbon behave differently when bent tightly around the shank and eye. Follow the material manufacturer's knot recommendations: not every combination that looks neat will hold securely.
If you strip coating, keep the stripped area intentional and inspect the transition for damage. Repeated reties and pulling against hook eyes can weaken some materials, particularly if sharp edges are present.
Five common tying errors
Crossed whippings: can concentrate pressure on a small portion of material. Insufficient tension: may allow the connection or hair to slip. Damaged hooklink: can fail under load despite a tidy appearance. Poor bait spacing: may cover the point or prevent natural movement. Wrong final line direction: changes the hook's orientation. Retie rather than accepting any of these because the rig “looks close enough”.
Fish welfare and safety
A correctly tied hook connection is only one part of a safe rig. Use tackle appropriate to the fish and venue, test the lead-release system independently and inspect any leader or tubing for components that might trap a fish after a break. Avoid pulling line against bare skin while tightening. If unsure whether a particular hook and stiff material combination is compatible, use a proven alternative.
FAQs
How many turns should I make? A practice range of six to eight is common, but there is no universal number. The material and hook configuration need to be tested.
Will it work with fluorocarbon? Some rigid mono and fluorocarbon rigs use alternative hook connections because of stiffness or eye geometry. Follow the material guidance instead of assuming the same whipping method will work.
Can I use a knotless knot without a hair? Certain setups do, but this guide teaches the common hair-rig application. Keep the final hook-eye path secure and appropriate to the presentation.
How can I check strength? Wet the knot if appropriate, tighten smoothly using safe tools, visually inspect it and apply firm controlled tension. A practical test does not prove a rig cannot fail in use; inspect after every fish or snag.
Shop the tackle for this guide
Browse Hooks , Hooklinks , Boilie Needles , Bait Stops and Rig Components on Tackl. Check the compatibility of individual items before buying.
Questions
Can I tie a knotless knot with coated braid?
Often yes, provided the material and hook are compatible. Follow the manufacturer's guidance and check whether the coating should be removed in the hook area for your chosen presentation.
How many turns do I need?
Six to eight is a common starting range, not a guarantee. Hook geometry and material can change what works securely.
Does the knotless knot only work with boilies?
No. Hair presentations can use various suitable baits; the hair length and bait attachment should be adapted to the bait.
Related
Shop this on Tackl
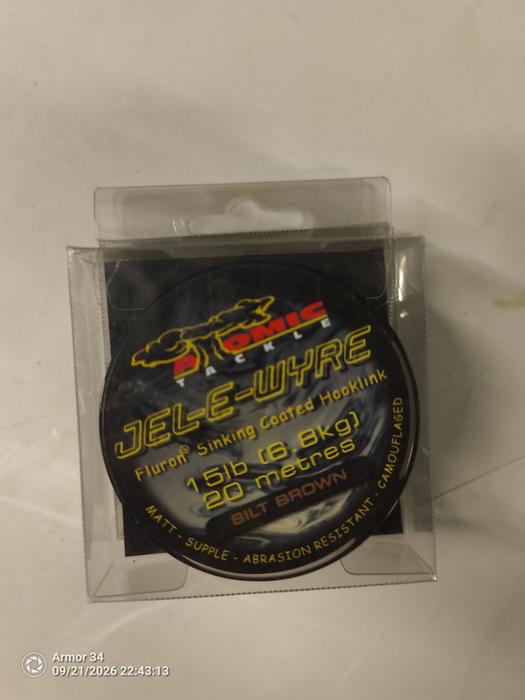
Atomic Tackle Hooklink Braided Sinking Coated Hooklink
£5.49New
Sold by Tackl
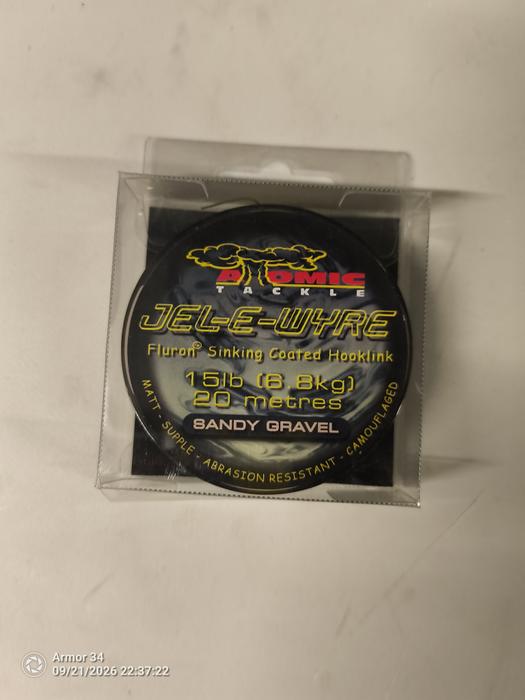
Atomic Tackle hooklink coated hooklink
£5.49New
Sold by Tackl
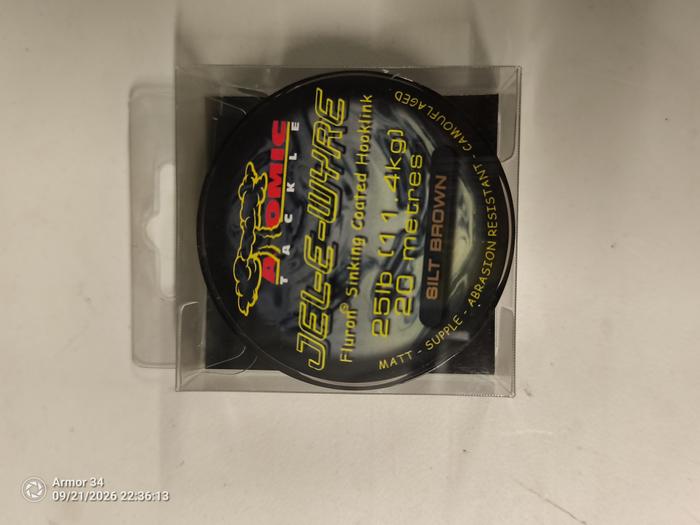
Atomic Tackle Hooklink Fluron Sinking Coated Hooklink
£5.49New
Sold by Tackl
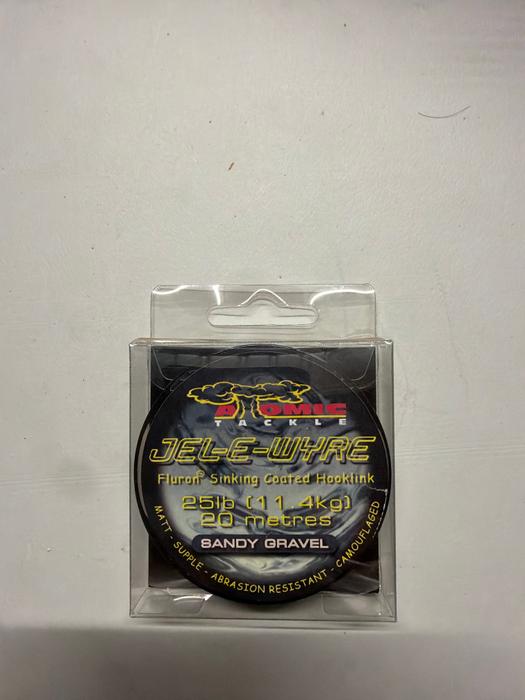
Atomic Tackle Line Fluorocarbon 25lbs 25lb (11.4kg) 20 metres
£5.49New
Sold by Tackl
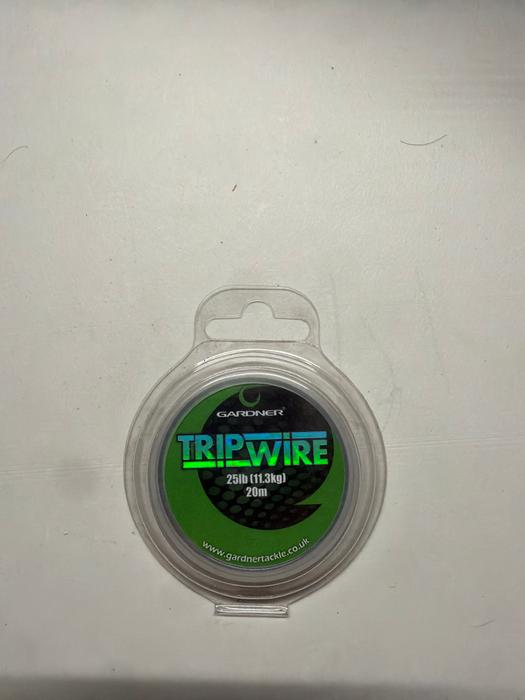
Gardner trip wire Line fishing line 25lbs
£3.00New
Sold by Tackl
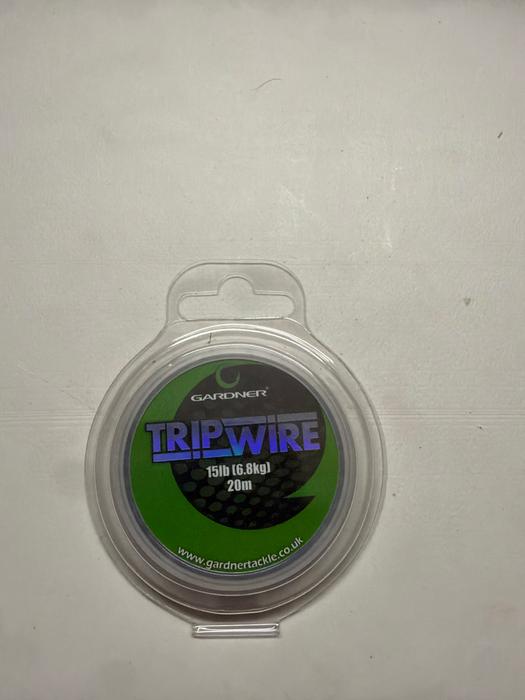
Gardner Trip Wire 15lb 20m
£4.24New
Sold by Tackl
General guidance, not professional advice. Always follow the venue's rules and current Environment Agency, NRW or Scottish regulations.